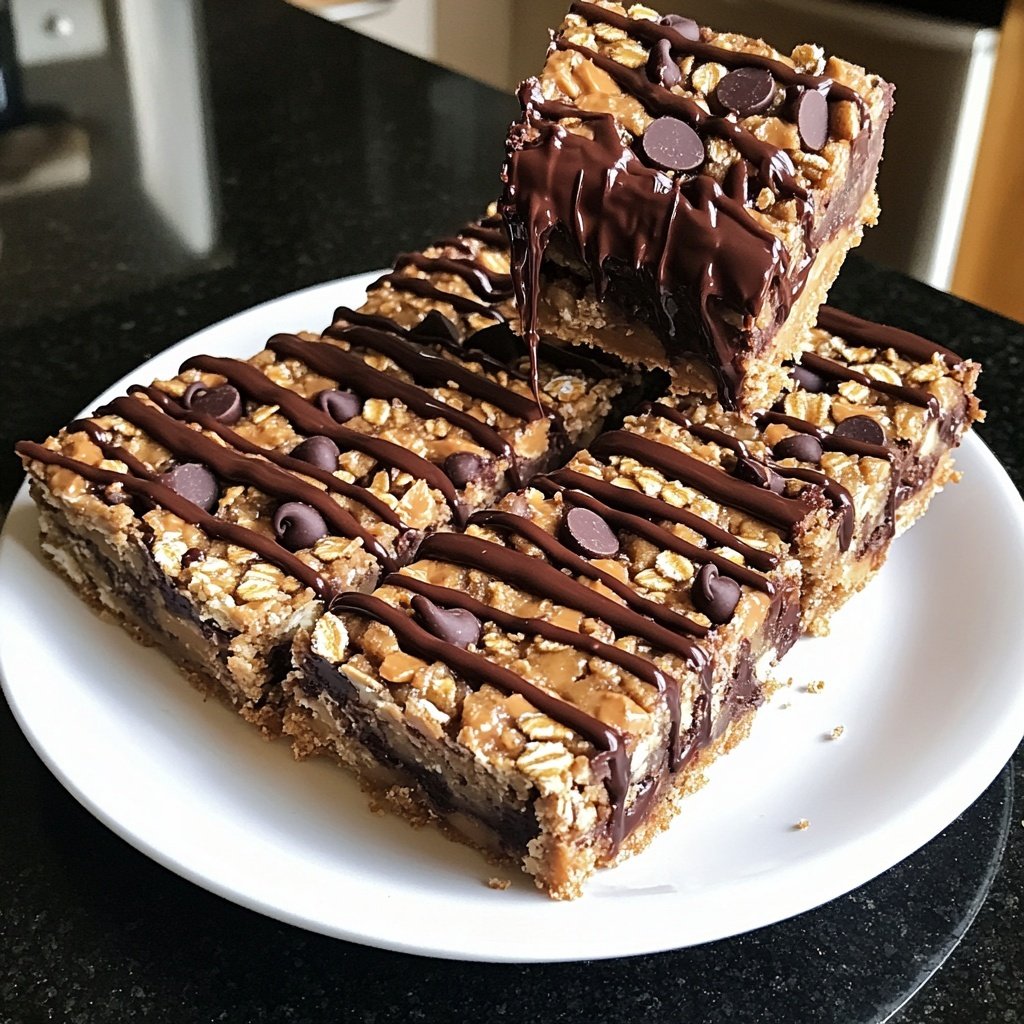
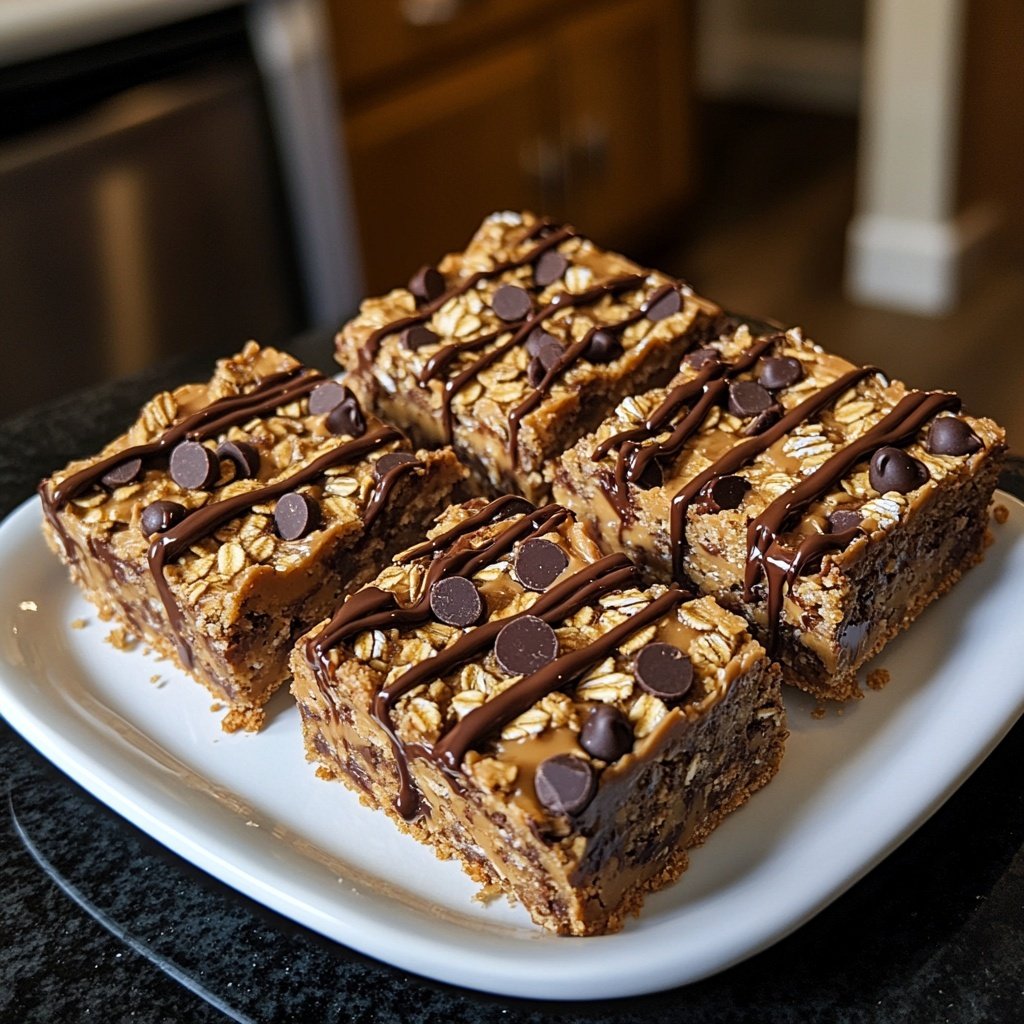
Chocolate Peanut Butter Oat Bars
Highlighted under: Easy Desserts Ideas
I absolutely love making these Chocolate Peanut Butter Oat Bars because they strike the perfect balance between indulgent and healthy. Every bite is a delightful combination of creamy peanut butter and rich chocolate enveloped in chewy oats. I often prepare these bars when I want a satisfying snack or a quick breakfast on the go. It only takes a few ingredients and minimal time to whip up a batch that my whole family enjoys. Plus, they are so easy to customize with your favorite mix-ins!
When I first experimented with these Chocolate Peanut Butter Oat Bars, I was amazed at how simple yet delicious they turned out. I had a moment of inspiration after seeing a similar recipe online but decided to make it my own. The key to achieving that perfect chewy texture lies in the balance of oats and peanut butter.
I tried varying the type of sweetener and was surprised to find that using maple syrup adds a delightful depth of flavor without overpowering the chocolate. These bars have quickly become a family favorite that I love to prepare for gatherings and snack times!
Why You'll Love These Bars
- Rich chocolate flavor complemented by nutty peanut butter
- Chewy texture that satisfies any sweet tooth
- Easy to make and perfect for meal prep
Understanding the Ingredients
The key ingredients in these Chocolate Peanut Butter Oat Bars are rolled oats, natural peanut butter, and honey (or maple syrup). Rolled oats provide a hearty, chewy texture and serve as the base. Their fiber content adds nutritional value, making these bars a satisfying option. It's best to use natural peanut butter for its rich, authentic flavor and creamy consistency, which bind the ingredients well without added sugars or oils.
Honey or maple syrup is essential not only for sweetness but also for binding the mixture together. If you're aiming for a vegan option, maple syrup is a perfect substitute. Stick to the specified amounts for a balanced sweetness, or adjust slightly based on your personal preference. Adding too much sweetener might make the mixture overly sticky and challenging to work with.
Perfecting the Texture
Achieving the ideal texture for these bars relies on a few key techniques. When mixing the ingredients, ensure that the peanut butter is fully incorporated with the oats before adding the chocolate chips. This prevents the chocolate from clumping and ensures even distribution throughout. The mixture should feel thick and sticky but not overly wet. If it doesn’t hold together, consider adding an additional tablespoon of oats to absorb extra moisture.
Pressing the mixture firmly into the baking pan is another crucial step. This compacting helps the bars hold their shape after baking. Use a flat tool, like a spatula or the back of a measuring cup, to press down evenly, ensuring there are no air pockets. Properly compacting the mixture will lead to a sturdier final product, which will be easier to cut into bars once cooled.
Ingredients
Gather the following ingredients to prepare your Chocolate Peanut Butter Oat Bars:
Ingredients
- 2 cups rolled oats
- 1 cup Natural peanut butter
- 1/2 cup honey or maple syrup
- 1/2 cup dark chocolate chips
- 1/2 teaspoon vanilla extract
- 1/4 teaspoon salt
Once you have all the ingredients, you are ready to get started!
Instructions
Follow these simple steps to create your delicious Chocolate Peanut Butter Oat Bars:
Prepare the Mixture
In a large mixing bowl, combine the rolled oats, peanut butter, honey (or maple syrup), vanilla extract, and salt. Stir until well mixed. The mixture should be thick and sticky.
Add Chocolate Chips
Gently fold in the dark chocolate chips until they are evenly distributed throughout the mixture.
Press into a Pan
Line an 8x8 inch baking dish with parchment paper. Press the mixture firmly into the pan to create an even layer.
Bake
Preheat your oven to 350°F (175°C). Bake for 20 minutes or until the edges are golden brown.
Cool and Cut
Take the pan out and let it cool for about 10 minutes, then use the parchment paper to lift the bars out. Allow them to cool completely before cutting into bars.
Enjoy these delicious and nutritious bars any time of the day!
Pro Tips
- For added texture and flavor, consider mixing in nuts, seeds, or dried fruit. Also, feel free to experiment with different nut butters for a unique twist!
Serving and Enjoying
These Chocolate Peanut Butter Oat Bars make for a versatile snack or breakfast option. Enjoy them on their own, or pair them with a dollop of yogurt or fresh fruit for added flavor and nutrition. They are also perfect for dipping in additional melted chocolate or drizzling with honey, elevating their indulgence. For a fun twist, try adding a sprinkle of sea salt on top after baking for a sweet and salty combination.
The bars can be stored in an airtight container at room temperature for up to a week. If you want to keep them fresh longer, consider refrigerating them, where they can last for up to two weeks. For meal prep enthusiasts, these bars freeze well too. Wrap individual bars tightly in plastic wrap and place them in a freezer bag for quick and convenient snacks.
Tips for Customization
One of the best aspects of these oat bars is their adaptability. You can easily swap in different mix-ins to suit your taste or dietary needs. For example, adding nuts like chopped almonds or walnuts can provide additional crunch and healthy fats. Dried fruits such as cranberries or apricots can enhance sweetness while adding chewy texture, so feel free to experiment with your favorites.
If you're looking for a lower sugar option, consider reducing the honey or maple syrup slightly and substituting in mashed bananas or unsweetened applesauce. This substitution will add moisture and natural sweetness without relying solely on syrup. Just keep in mind that altering the wet ingredients might require adjustments to the dry ingredients to maintain the mixture's ideal consistency.
Questions About Recipes
→ How long do these bars last?
Stored in an airtight container, these bars can last up to a week at room temperature or up to a month in the fridge.
→ Can I use crunchy peanut butter instead of smooth?
Absolutely! Crunchy peanut butter will add a delightful texture to the bars.
→ What can I use if I am allergic to peanuts?
You can substitute peanut butter with almond butter or sunbutter for a nut-free option.
→ Can I freeze these bars?
Yes, these bars freeze very well. Just wrap them individually and store them in an airtight container.
Chocolate Peanut Butter Oat Bars
Created by: Maribel Sutton
Recipe Type: Easy Desserts Ideas
Skill Level: Easy
Final Quantity: 12 bars
What You'll Need
Ingredients
- 2 cups rolled oats
- 1 cup Natural peanut butter
- 1/2 cup honey or maple syrup
- 1/2 cup dark chocolate chips
- 1/2 teaspoon vanilla extract
- 1/4 teaspoon salt
How-To Steps
In a large mixing bowl, combine the rolled oats, peanut butter, honey (or maple syrup), vanilla extract, and salt. Stir until well mixed. The mixture should be thick and sticky.
Gently fold in the dark chocolate chips until they are evenly distributed throughout the mixture.
Line an 8x8 inch baking dish with parchment paper. Press the mixture firmly into the pan to create an even layer.
Preheat your oven to 350°F (175°C). Bake for 20 minutes or until the edges are golden brown.
Take the pan out and let it cool for about 10 minutes, then use the parchment paper to lift the bars out. Allow them to cool completely before cutting into bars.
Extra Tips
- For added texture and flavor, consider mixing in nuts, seeds, or dried fruit. Also, feel free to experiment with different nut butters for a unique twist!
Nutritional Breakdown (Per Serving)
- Calories: 220 kcal
- Total Fat: 10g
- Saturated Fat: 2g
- Cholesterol: 0mg
- Sodium: 50mg
- Total Carbohydrates: 30g
- Dietary Fiber: 3g
- Sugars: 8g
- Protein: 6g